
Written by: Hayley Hajic, Project Manager, Southwest Environmental Finance Center
Regular flushing can be an important technique for maintaining water quality by removing stagnant water, biofilm, sediments, and contaminants that can accumulate in pipes. For small water systems, flushing can be part of regular maintenance or can be performed in response to low disinfectant residual, positive coliform results, evidence of nitrification, or customer water quality complaints.
Develop a Flushing Plan
- Map the Distribution System: Identify all pipes, dead ends, hydrants, and low-use areas.
- Create Zones: Flushing the entire system at once can cause pressure drops and disruptions. Using the distribution map, designate flushing zones to isolate and flush one section at a time, minimizing community-wide impact.
- Prioritize Flushing Locations: If you are unable to flush the entire system, focus on dead-end lines or low-demand areas, areas with water quality complaints, and older pipes.
- Establish a Flushing Schedule: Typically, flushing is done semi-annually or annually, but dead-end lines in the distribution system may require more frequent flushing and monitoring (every 1–6 months).
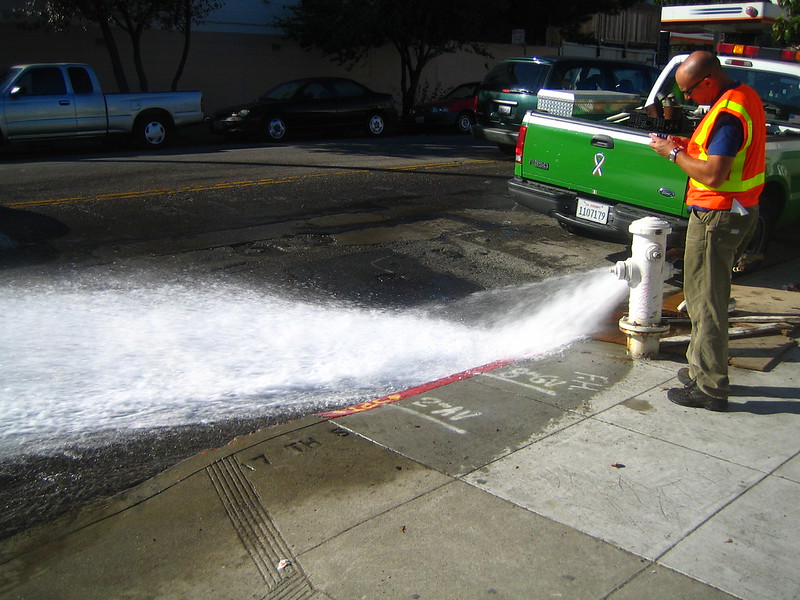
Establish Operational Procedures
- Notify Customers: Inform residents about potential temporary pressure drops or discoloration. Include dates, times and contact information in the notification so customers will know when your crew will be doing this work and who to contact with questions.
- Plan Approach: Flush the zone closest to your water source and move outward. For each zone, start at the hydrant closest to the valve used to isolate the zone and work your way towards the end of the isolated section, opening hydrants progressively.
- Test Water Quality: At minimum, check the chlorine residual after flushing.
- Adjust Flush Duration Based on Water Clarity: Continue flushing until the water runs clear to ensure effectiveness.
- Document Flushing Events: Maintain records of locations, dates, chlorine residuals, and observations. Make note of inoperable hydrants and valves. Place signage on hydrants that do not work to help the Fire Department in case of emergency.
Common Mistakes to Avoid
- Allowing Water Hammer to Occur: Rapid valve closures can cause pressure surges, damaging pipes and fittings. Open and close valves slowly.
- Leaving Valves/Hydrants Fully Open: Open the valve or hydrant fully, then back it off a quarter turn to prevent it from getting frozen in the open position.
- Using Low Flow Rates: Insufficient velocity may not effectively remove sediment and biofilm. Make sure to open the hydrant fully and then back it off quarter turn to obtain a high velocity. Do not partially open the hydrant.
- Not Flushing Long Enough: Open hydrants or blowoffs for a period long enough (3-6 minutes) to stir up deposits inside the main. Turn off once you see the water is clear and the chlorine residual is in the acceptable range.
For more information, please visit these additional resources:
- RCAP’s Protecting Water Quality by Optimizing the Operations and Maintenance of Distribution Systems: Chapter 12: How to Implement an Effective Flushing Program (Page 49).
- EPA’s Distribution System Water Quality Protecting Water Quality Through Distribution System Flushing
- RCAP’s Hydrant Inspection and Flushing video